First Attempt At Building a "Pull Behind" Motorcycle Trailer - Part 1: Planning
Wed, October 2nd, 2019
Written by Oscar Aguayo
Photography by Oscar Aguayo
Planning the Trailer
My first step in planning the bike trailer started before I knew I wanted to build one: going online and seeing what trailers are out there. By doing this you start getting a sense of sizes, weights, configurations, prices, requirements, shapes, colors, styles, etc. Looking at what trailer makers offer (and the prices they charge) together with the customizations other bikers have done to theirs, along with built-from-scratch ones handy bikers have made will give you ideas and help you define the characteristics you want in your trailer.
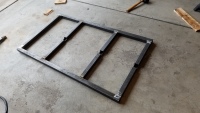
My second planning step was to play with the characteristics I wanted my trailer to have. You use paper and pencil for this; or, if you can, a 3D CAD program. Initially I wanted my home-made trailer to be sleek and stylish with rounded aerodynamic lines. But as I made draft after draft it started to dawn on me the degree of difficulty each one of those features was going to demand from me. Sure I could invest the time and money to ensure my first attempt would turn out a worthy competitor to what professional trailer makers are currently selling. But I knew it would be (1) expensive and (2) slow. Being that this is my very first attempt, I don't even know if I will be able to finish it! So, I decided to lower my bar considerably and went with a very basic design: a flat bed trailer to which I could afix almost anything.
Using a free and relatively easy to use CAD program (
FreeCAD) I put together my simple flat-bed trailer. The advantage of using a CAD program is that you can design your proyect using the real measures you want it to have in real life. So, once you are done tweaking it and moving parts around in the program, all you have to do is sum all the parts's lengths and you know exactly how much material to buy. Also, since most of the steel tubing stores will cut it to your measures, the CAD program is very useful in helping you make a list of lengths.
Here is a screenshot of my final trailer design, with measures:
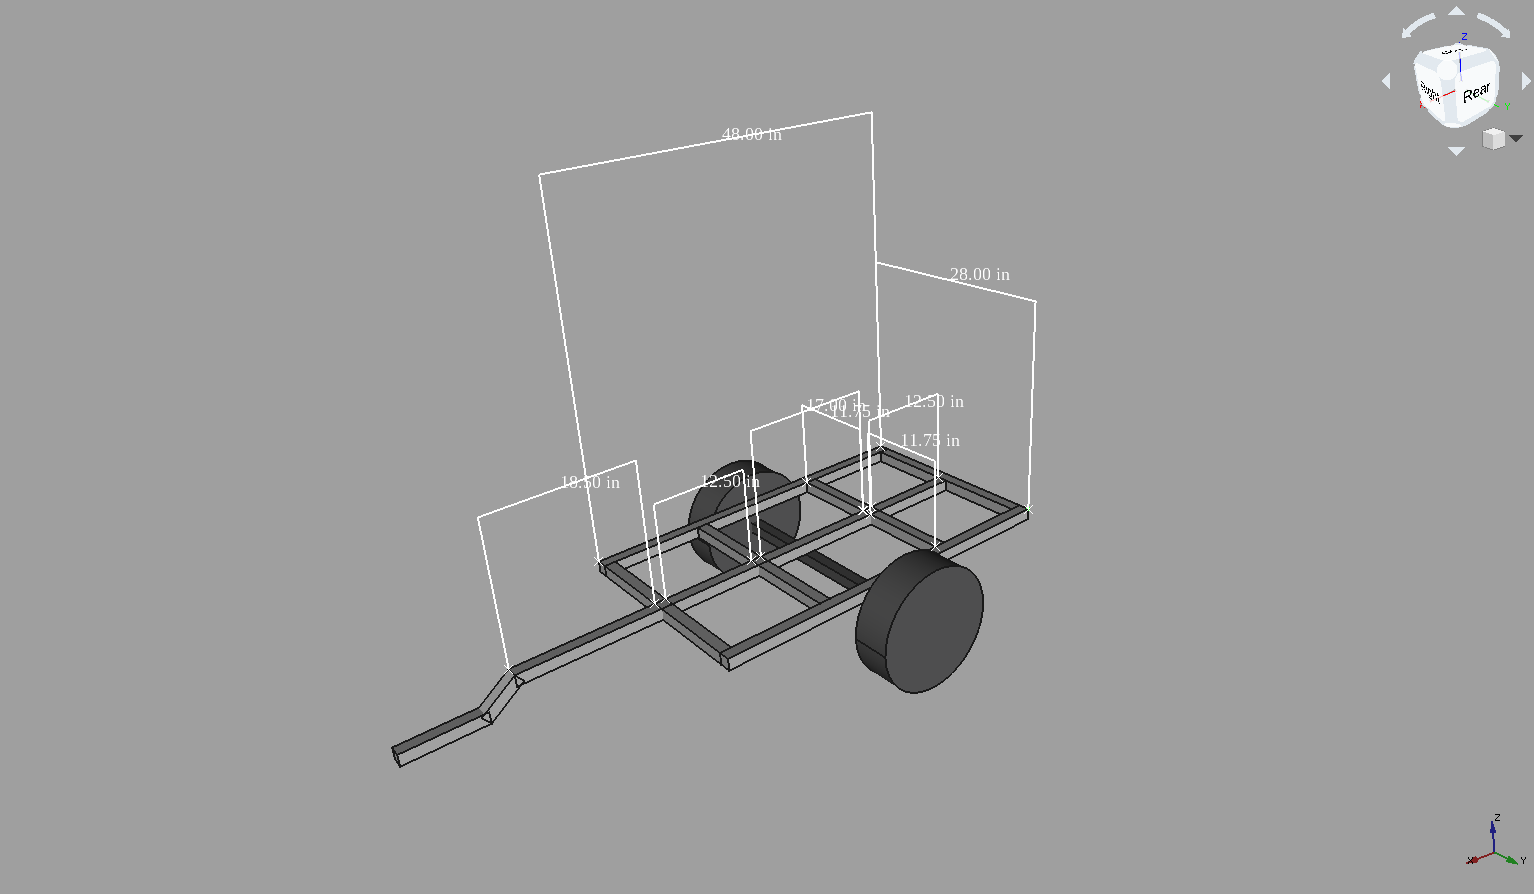 [ click picture to enlarge ]
Planning the Workplace
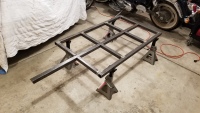
My third step in planning was to find a covered place with room for welding. Since I am going at my own pace with my trailer project, I needed the place to be covered so I can work at nights or when it rains outside. Parking my car outside and moving things around in my garage made it ideal for this.
Step four is the tool set. For my project I need a welding machine complete with the welding helmet and protective covers. I also need other basic power tools like a bench grinder, an angle grinder/cutter, a hand drill and a bench drill press. On the hand tools department, I need a hand saw along with a coping saw, files of several shapes, hammer, rubber mallet, basic wrenches and screw drivers and normal pliers. Occassionally I found, during the first stages of fabrication, that I needed some tool I didn't have. So, it is useful to identify a tool store close by for those eventualities.
Planning the Materials
Step five is an important one. Choosing the materials the trailer is going to be made of has implications in its overall strength during the demanding conditions on the road, and it is also going to have repercussions on the riding experience as weight
is an important factor to consider.
My first intention was to use aluminum since it is strong and light. The two options were to bolt the trailer parts together versus weld them to each other. Bolting didn't appeal to me because the vibrations of the road would require me to check all bolts before and during each trip. Upon research, however, I learned that welding aluminum requires a particular welding machine beyond my reach. That left steel as the main material.
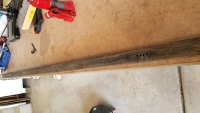
A few months ago my brother AL had rebuilt his full size cargo trailer using square steel tubing, so I visited him to examine his results. His trailer is a tank: a very solid and strong rectangular bed with tall, sturdy side walls. He used 2 inch square steel tube as his main material. Too big and heavy for a little motorcycle trailer. He suggested using 1.5 inch square steel tubing, or even the 1.25 inch one. Later that week he needed steel tubing for a different project and invited me to go with him to his supplier.
At his supplier I was able to compare different sizes of square steel tubing (it is different "knowing" the sizes in your head, and "seeing" the sizes in your hands). Although 1.25 inch seemed as a good size, thinking about road vibrations as the trailer travel at 70mph, made me go for the next size up: 1.5 inch. It is still light enough but it will make for a sturdier trailer. So, that's been my choice: 1.5 inch square steel tubing.
Additionally, I learned later as I purchased the material, steel is cheaper than aluminum.
Planing step six is related to the other components you'll need beyond building your trailer's frame: Axle, suspension, hubs and tires, electric installation of blinkers and brake lights. That's what I intend to do. So, I've visited the trailer supply stores in my area to make sure they have all the components I'll need. Also, I've located some of the components online and know where and how to get them. I would advise to do at least that
before starting your project.
Planning the Motorcycle
Last planning step has to do with the motorcycle itself. First you need a bike able to pull a trailer. This has to do not just with the bike's engine size, but also with its frame because the towing hitch will be attached to it. Some bikes don't allow an easy towing hitch to be installed to their frame. Some others are easier but require custom made hitch supports. In my particular case, my Dark Wing (1998 Honda Goldwing 1500SE) came with a towing hitch already installed and so I didn't have to do any planning on this step. But maybe you do.
Conclusion
Ideally, planning should include e-v-e-r-y single detail and have a detailed blueprint and list of every component and every part. At the other side of the spectrum is when one starts building something without having a definite idea of what one is trying to build. For this, my first little motorcycle trailer, I've chosen a position somewhere in the middle. I've researched and planned what I didn't have clear in my mind, and have left what
is clear somewhat "to be decided as I go". So, use your own wisdom :)
I'll post the next part of the project soon. Stay tuned.
Happy riding!
◼